I hate mascara. Seriously. I hate the way it never completely comes off when you remove your makeup. I hate the way it flakes into your eyes and gets stuck to your contacts. I hate the way it smudges and makes me look like I got even less sleep than I actually did. I just hate it.
Okay, I know this seems like a lot of negativity for me, and perhaps a little dramatic. Hang with me…
Because although I hate it, I know how much better my makeup looks when I wear it. And the older I get, the more I rely on its help. It makes my eyes look more awake, and it brightens up my entire face. So begrudgingly, I wear it. Until now.
Over the past year, I’ve been on a quest to experiment mascara alternatives. (I told you I hate it.)
First, I tried a lash serum. A very large MLM was the first company I knew about that offered such a thing outside of a med spa. And yes, I bought it. Remember, I am always honest with you…it worked. Like really worked. It worked so well that I actually had to trim one of my lashes, because it grew so long that it was touching my eyebrow. My lashes looked incredible! But it’s expensive and the tube only lasts about a month, since you have to apply it each day for it to last. I loved the way my lashes looked, but I could not justify paying $140 a month, no matter how much I despise mascara. After that experience, I tried several other dupe serums from Amazon, and ultimately could never find anything that worked as well.
(I want to be clear that this was MY experience alone. I do know people who have had allergic reactions to these serums, so please speak to a professional before trying anything.)
Next, I tried a lash lift and tint. The process was quick (less than 30 minutes), easy (just lay there), had very little downtime (12 hours before getting wet), and does not require any aftercare. Essentially, a lash lift is a perm for your lashes that curls your lashes to open up your eyes. A tint is an application of dye to your lashes. Together, this gives the illusion that you are wearing mascara. This procedure is projected to last 4-6 weeks, depending on lifestyle.
Overall, I really liked it. My lashes definitely looked best right after the appointment, and for the first week. The color lasted almost 5 weeks, but the lift only lasted about 3 weeks. Full disclosure, I workout 6 times per week and sweat a lot, I shower every day, and I double cleanse my face, so I expose my face (and lashes) to a lot of moisture. Someone with a different lifestyle would likely be able to make their lash services last much longer.
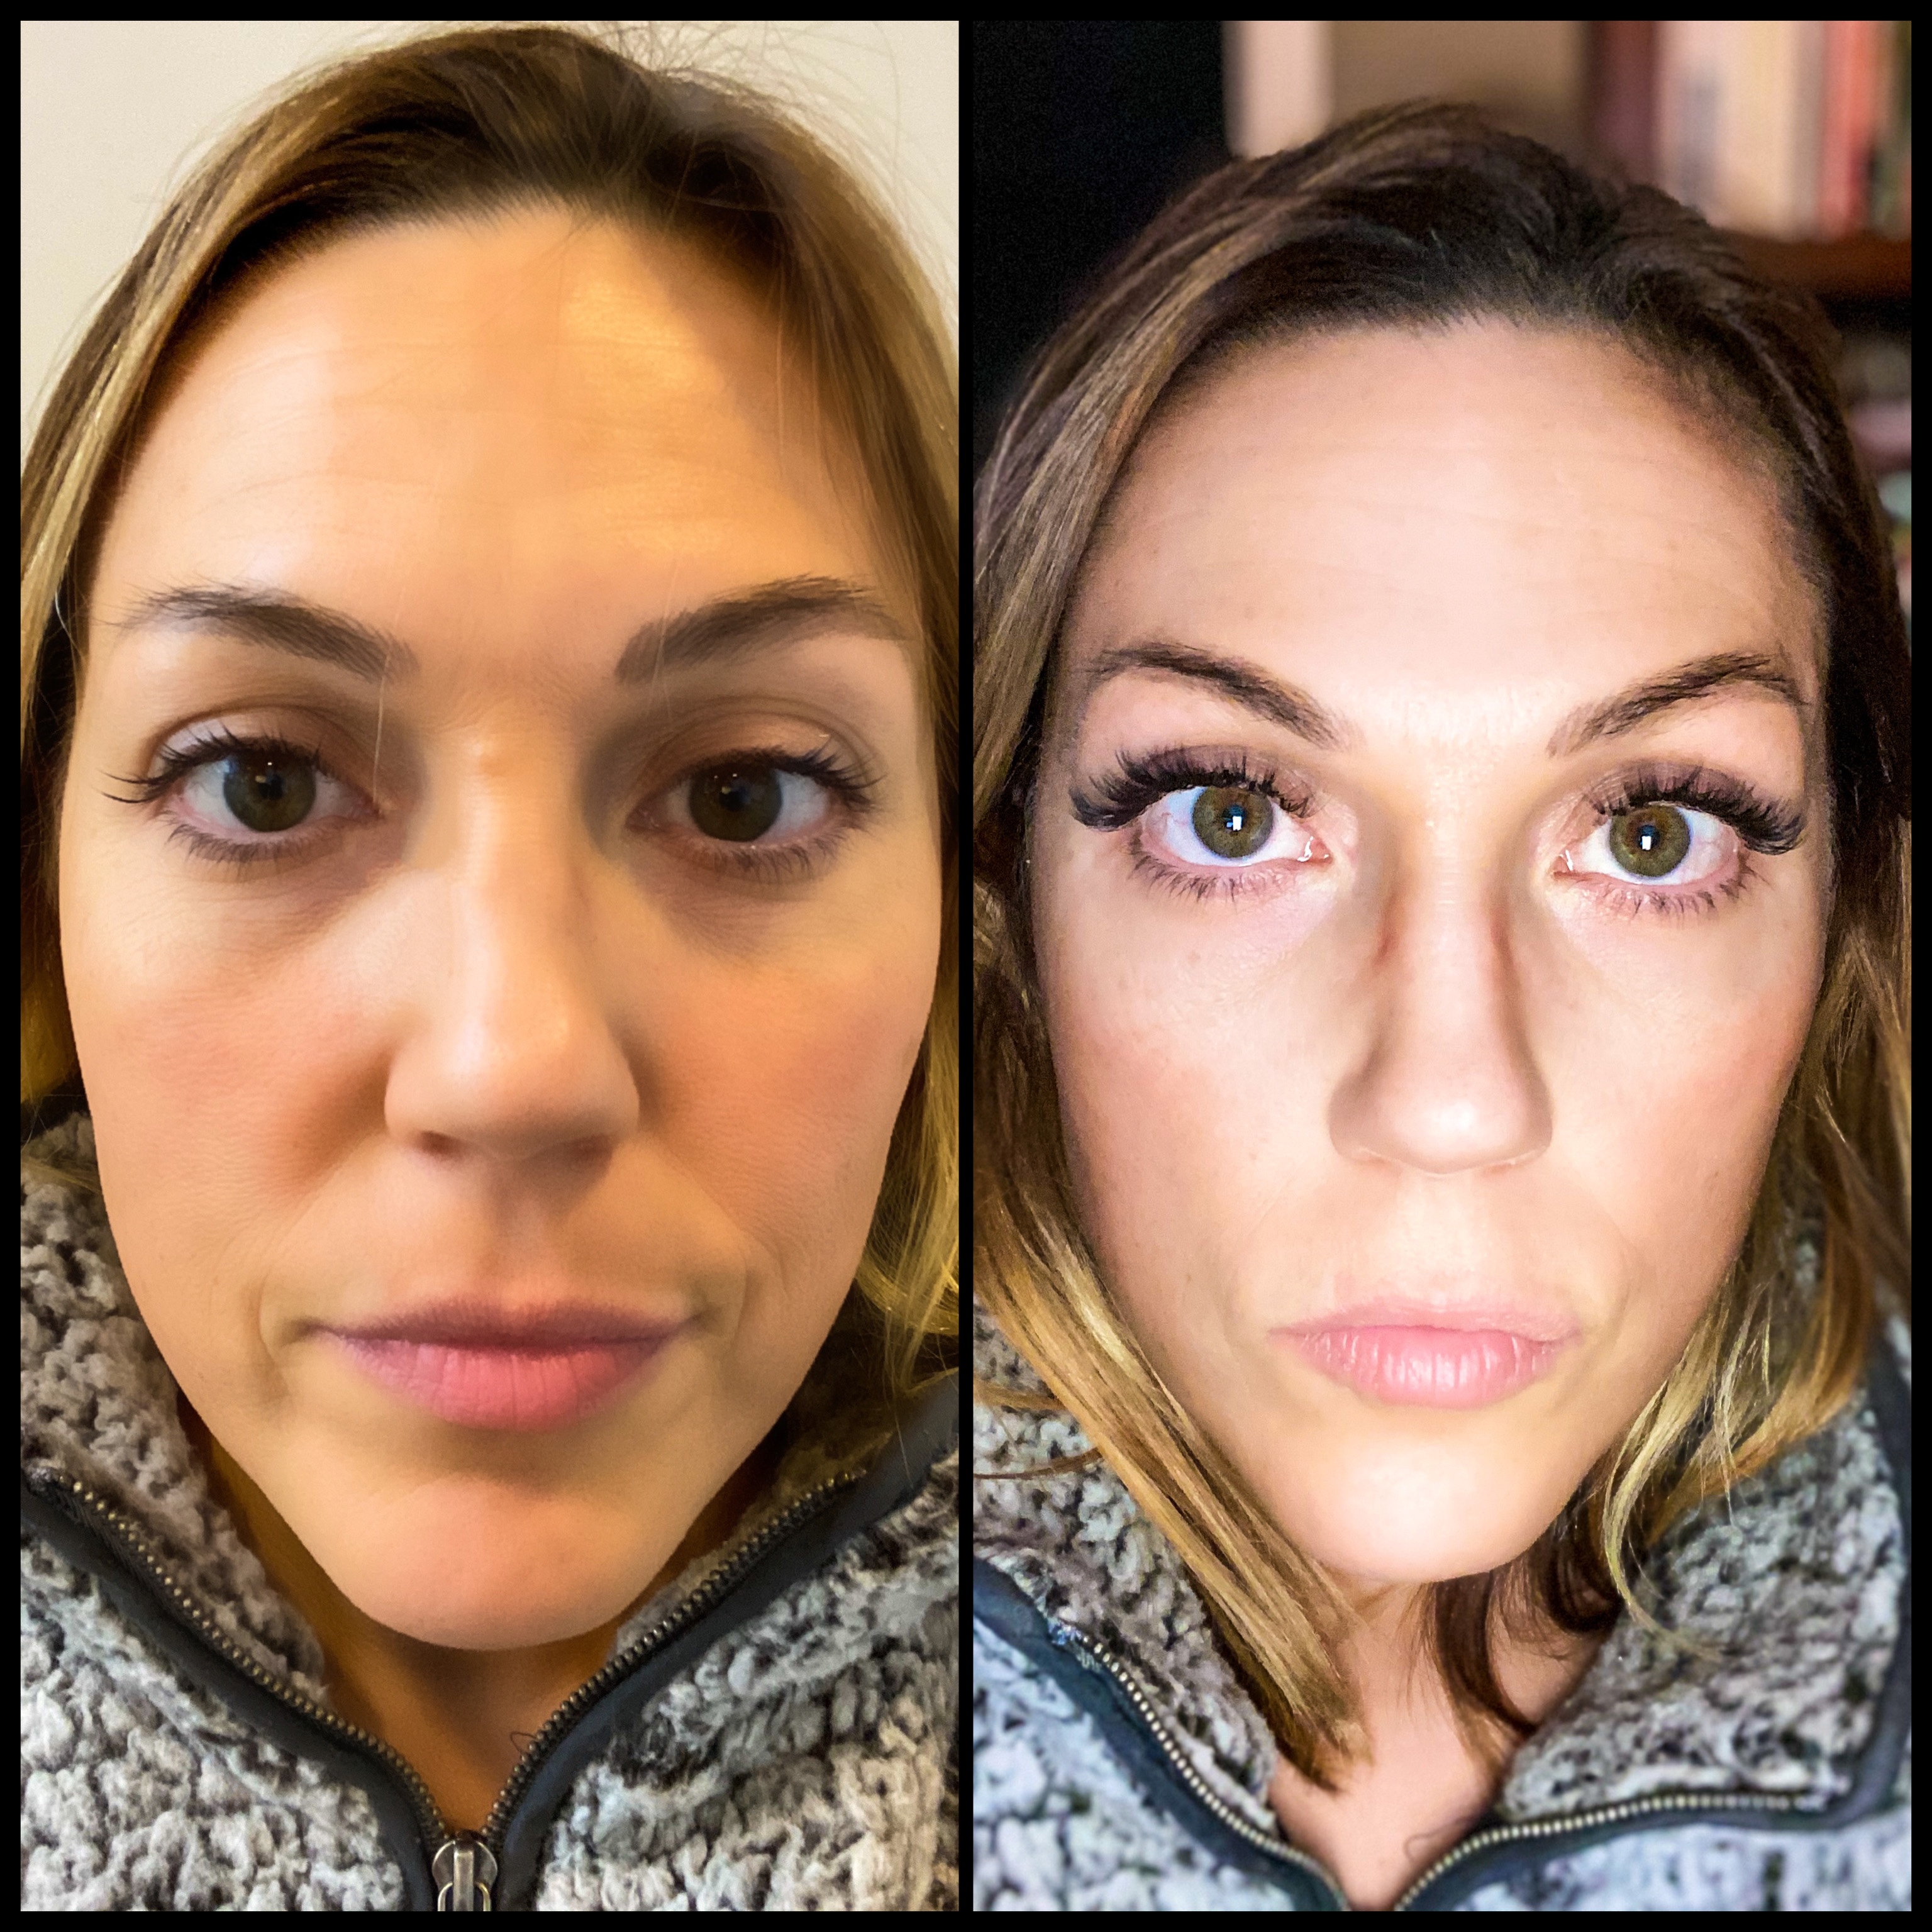
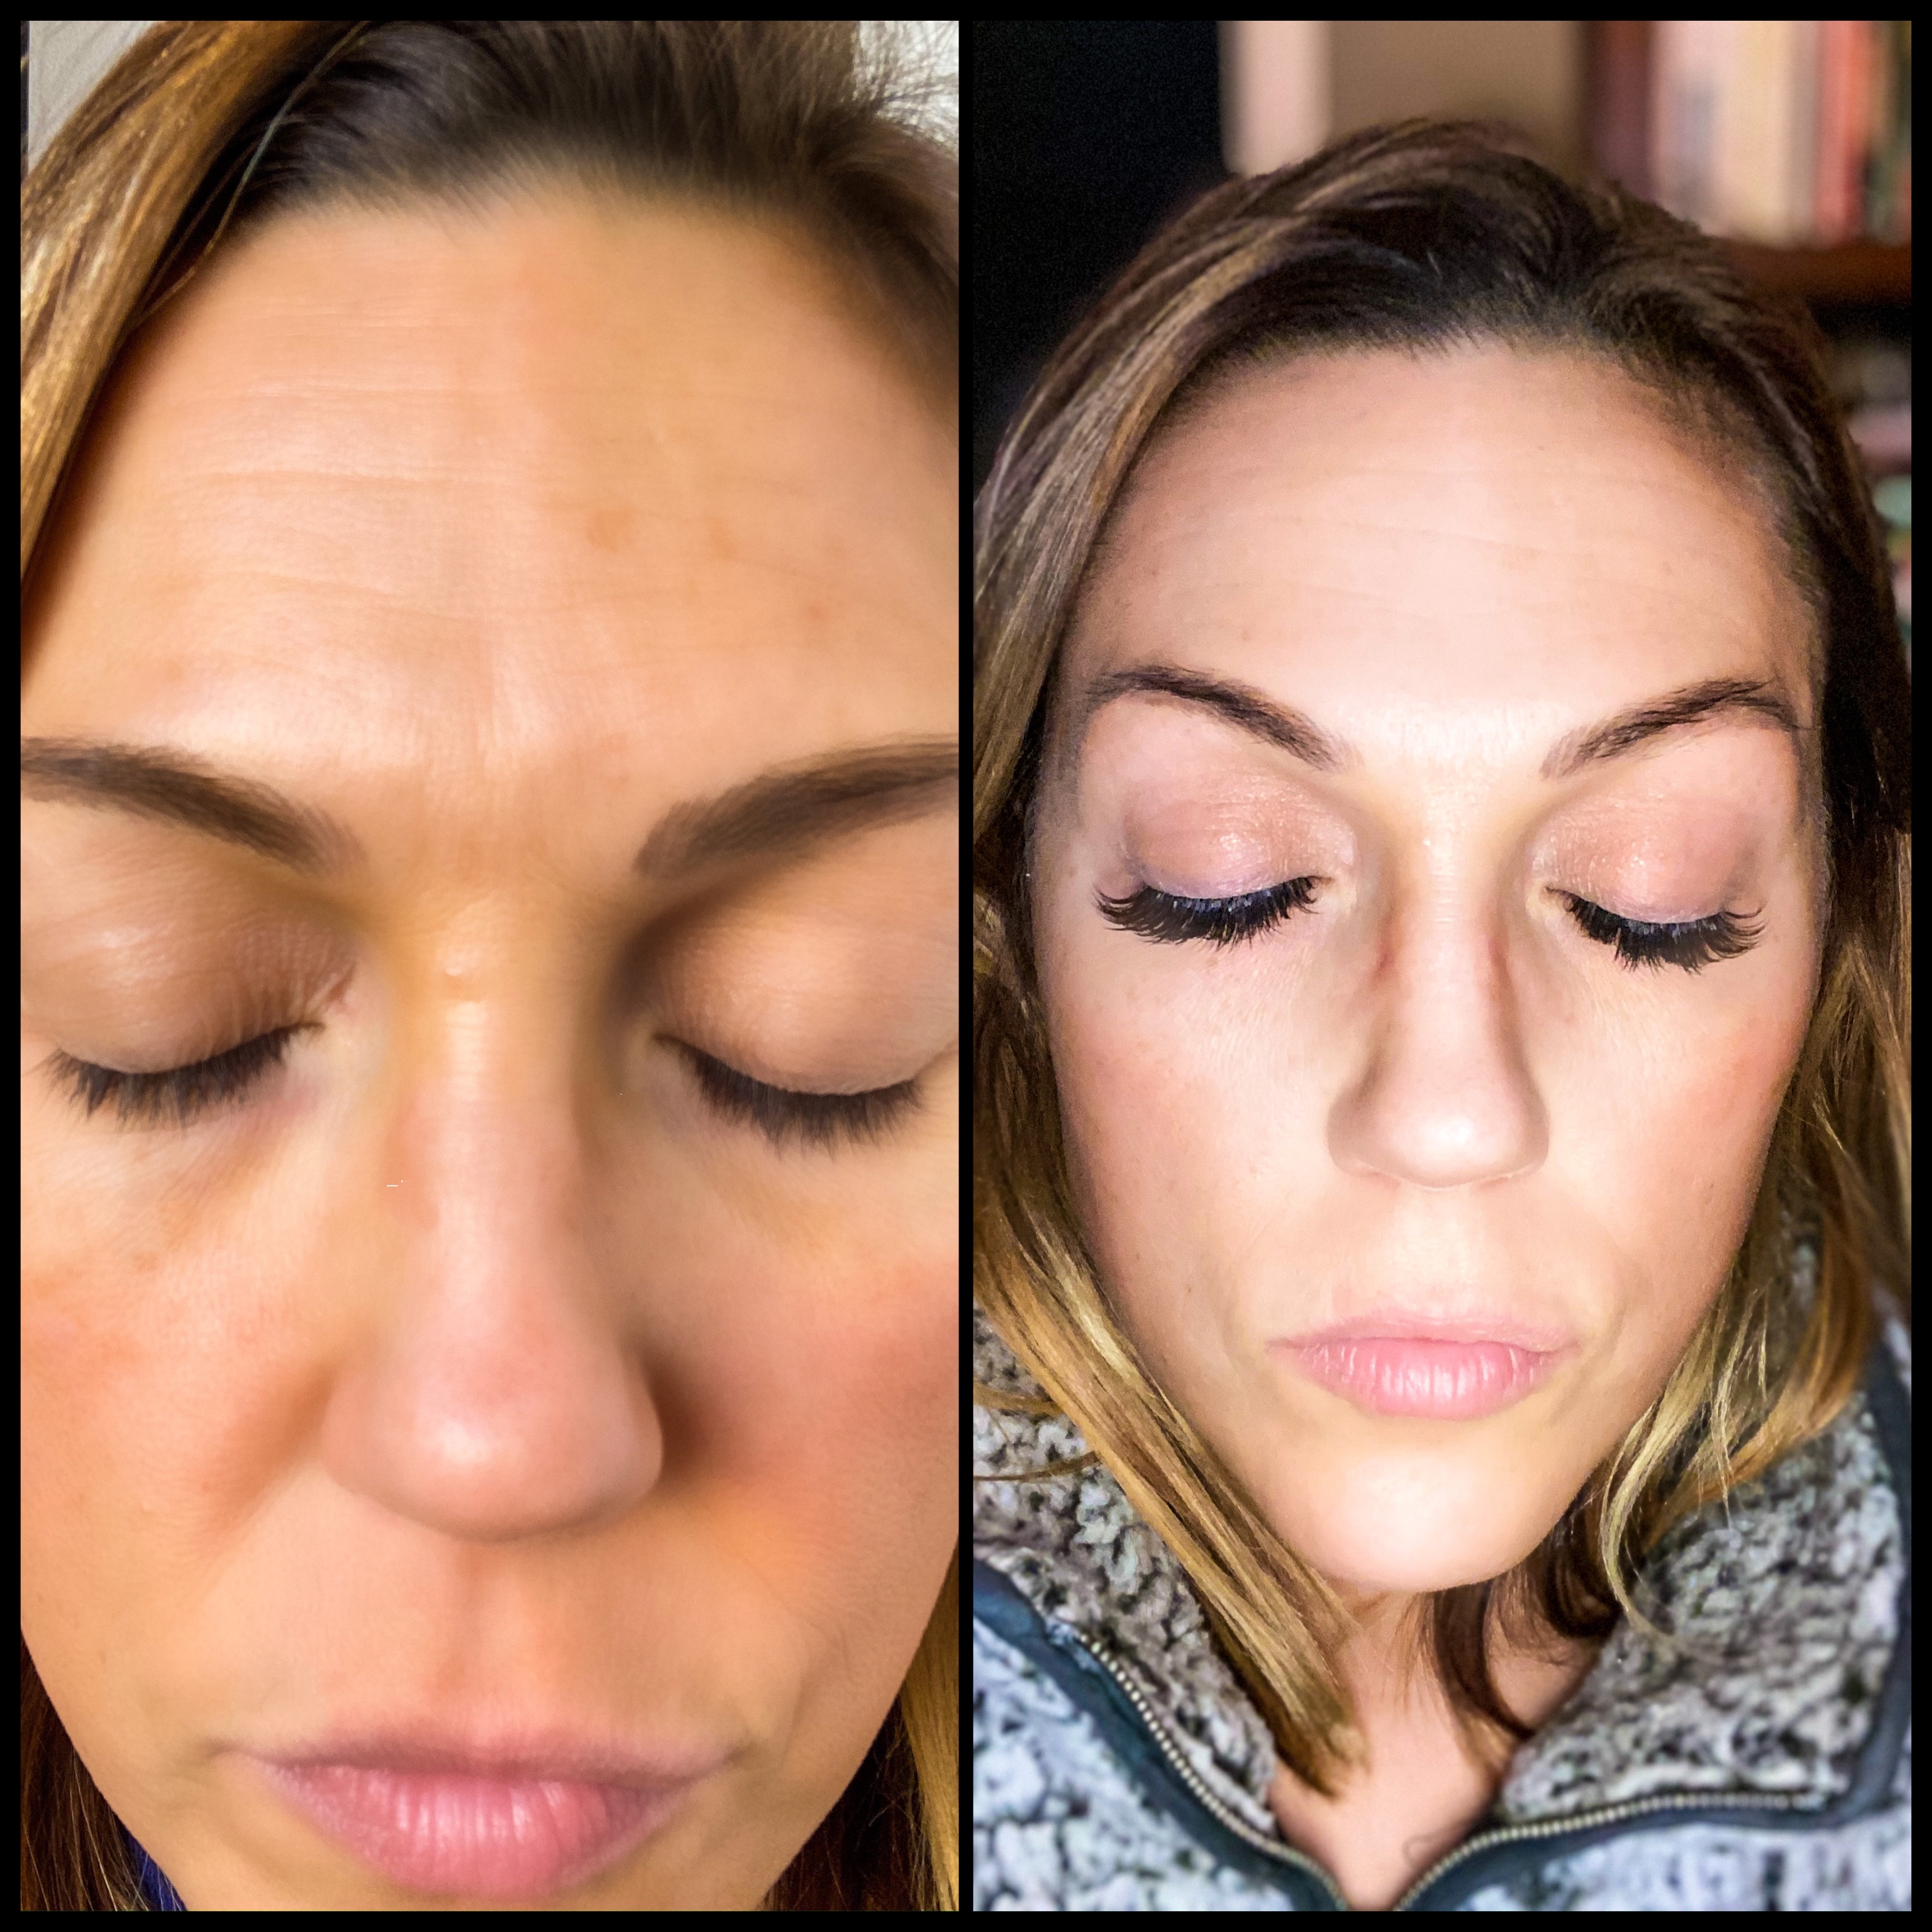
And finally, lash extensions. You know these, as they have become increasingly popular over the past couple of years, as they give the daily illusion of longer, fuller lashes. I liken them to the look of false eyelashes, which I love to wear for photos and special events to really make my eyes pop. Much like fake lashes, extensions come in different lengths, fullness, colors, and textures. This seemed like the natural next step in my lash adventure!
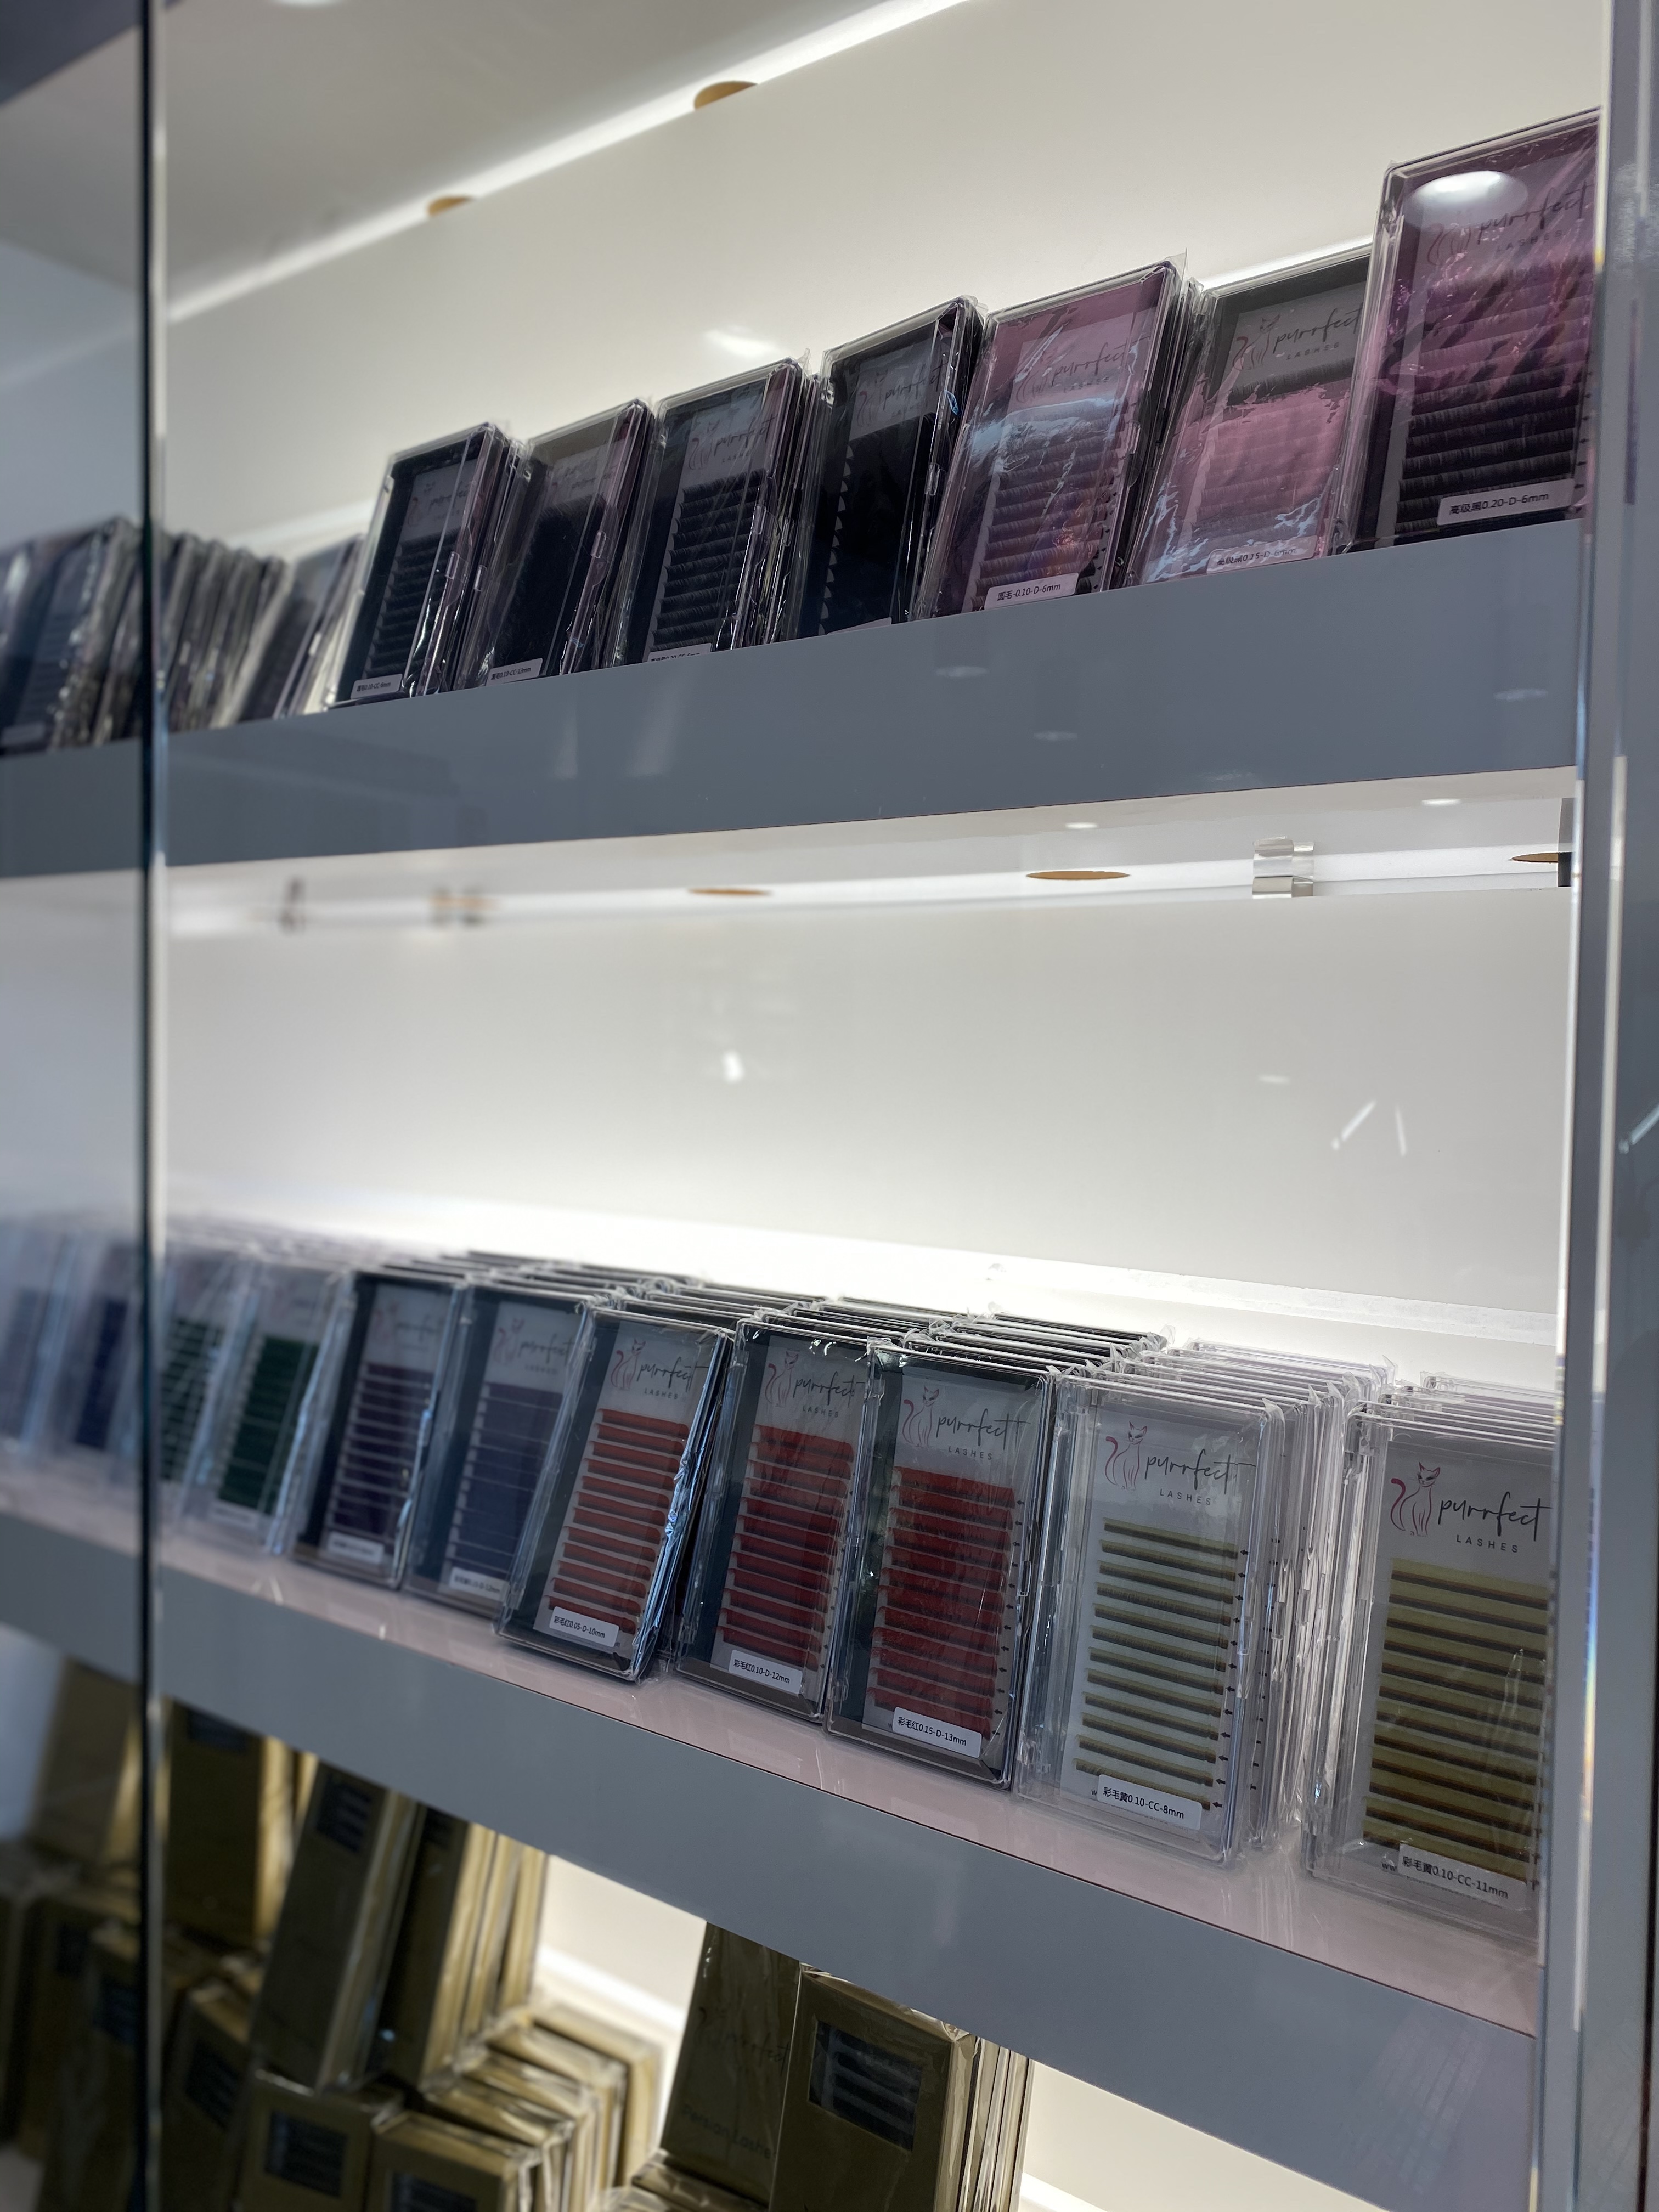
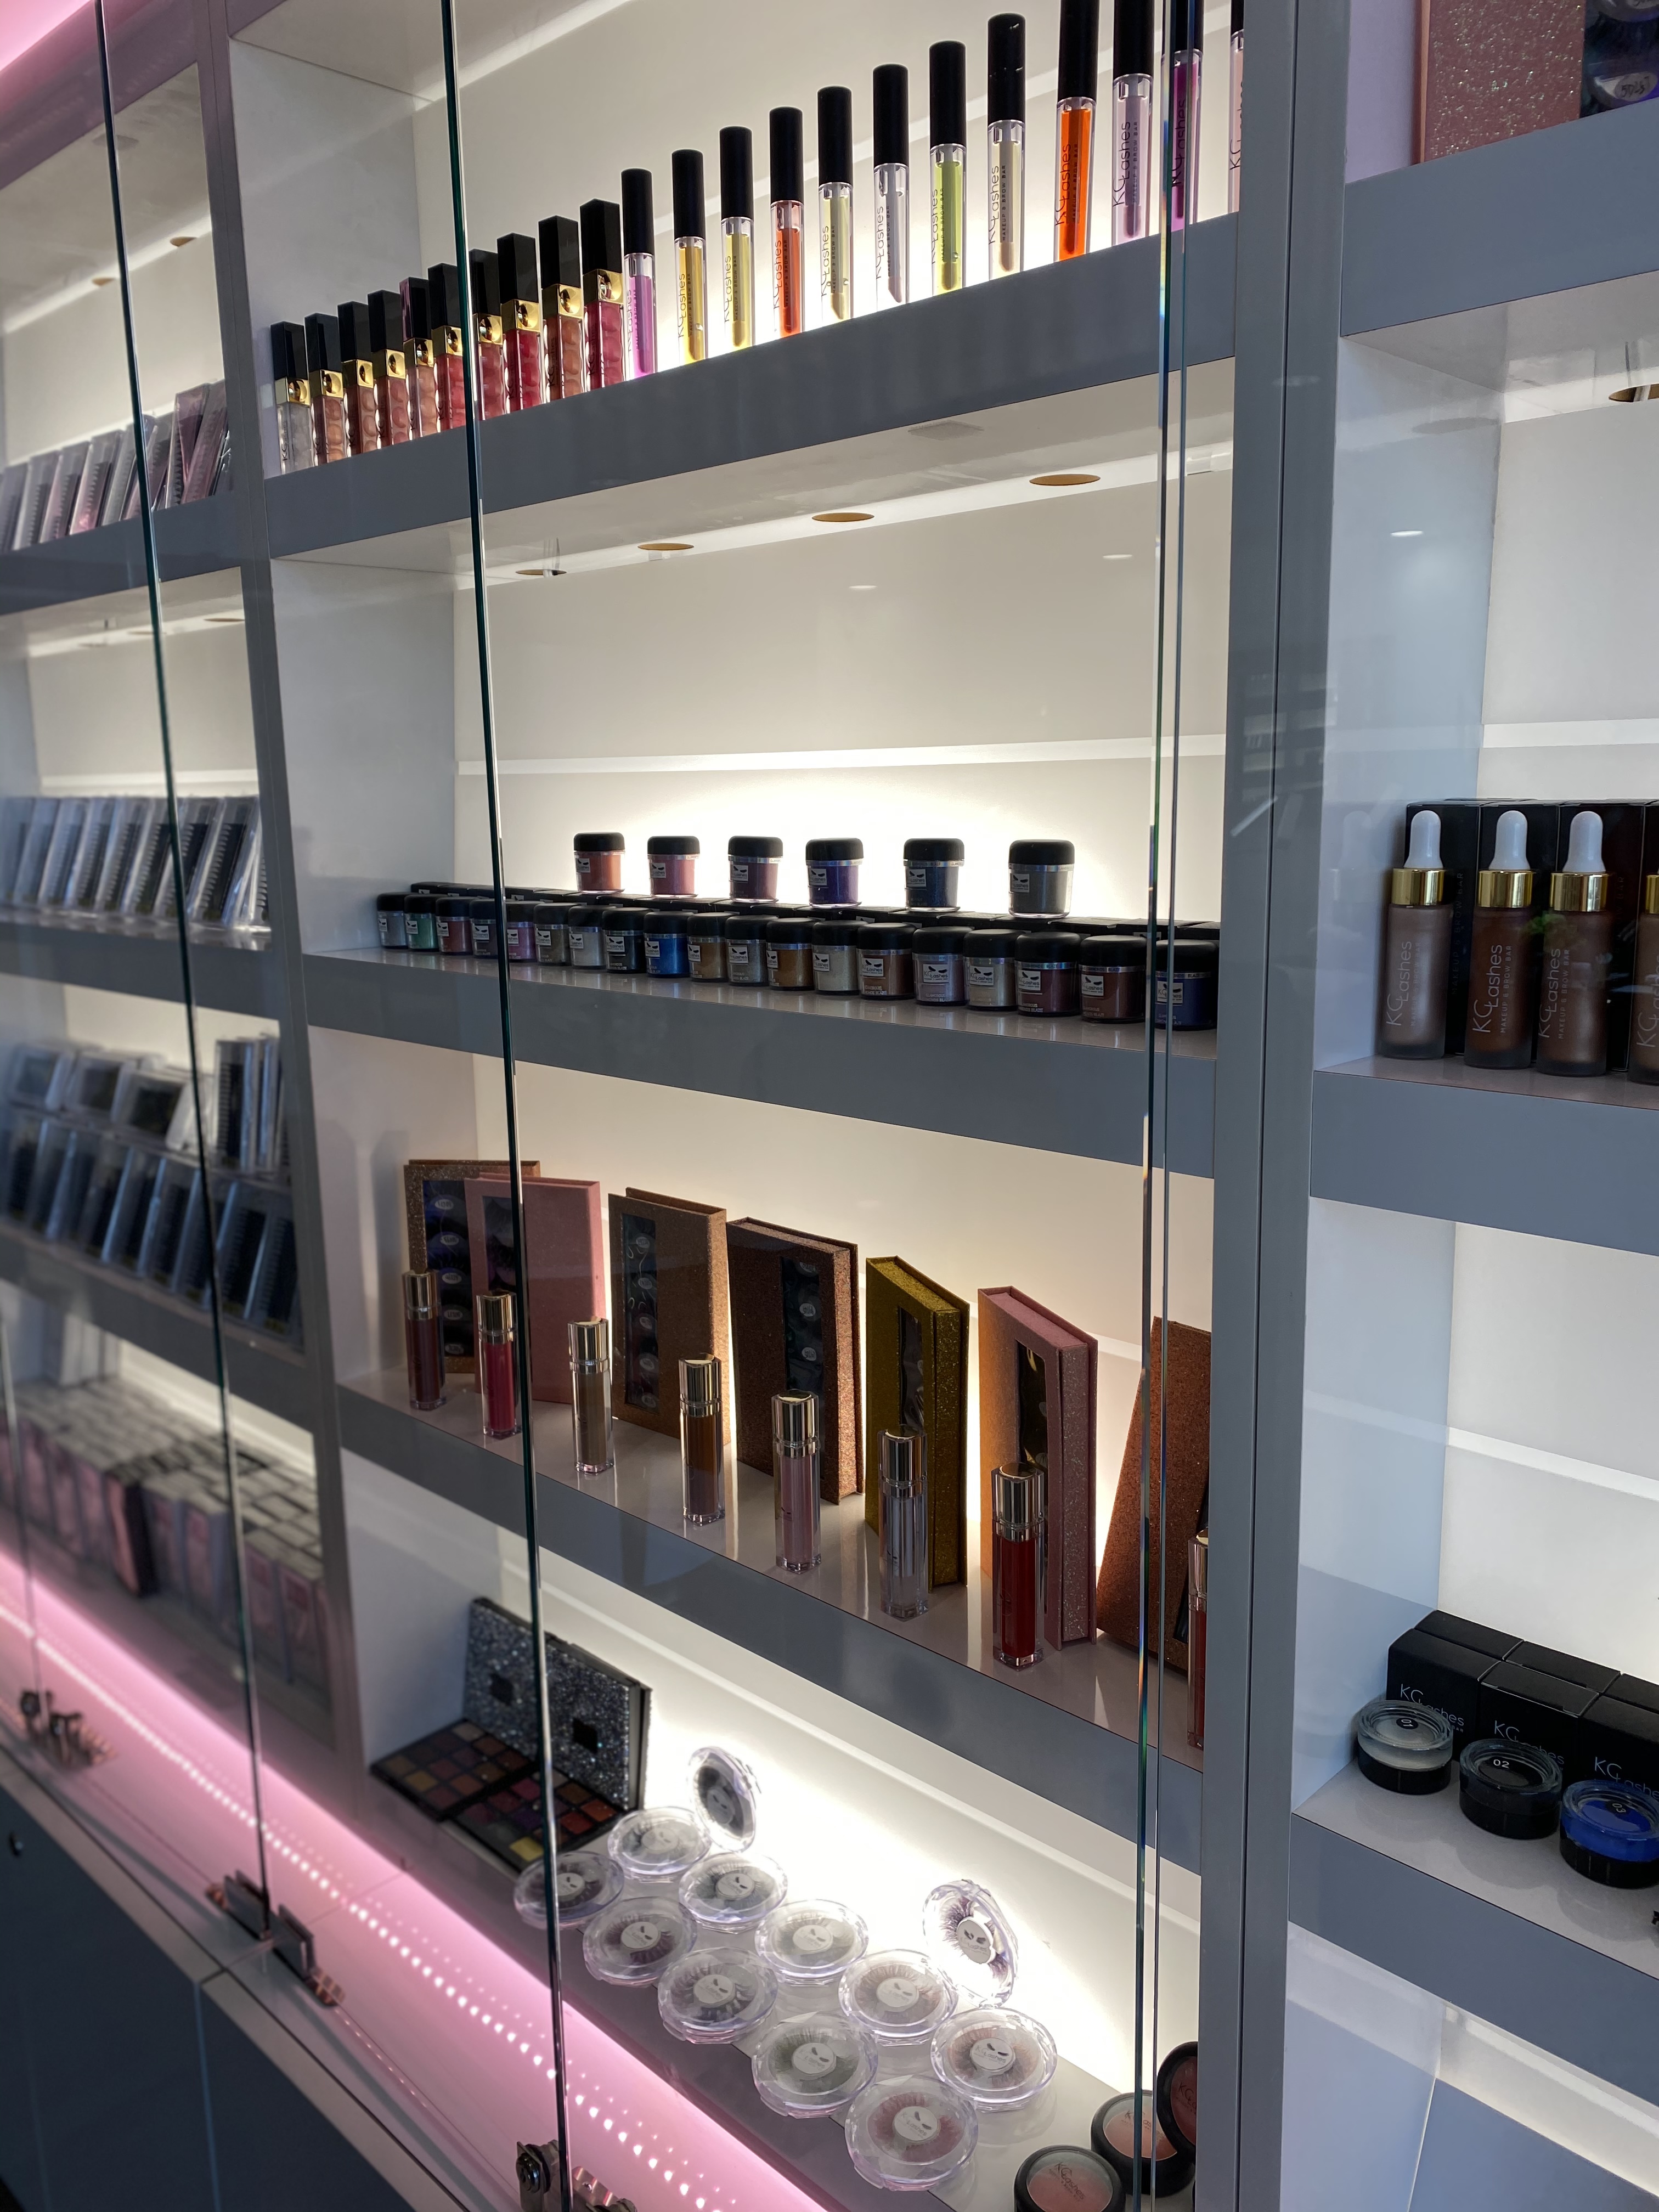
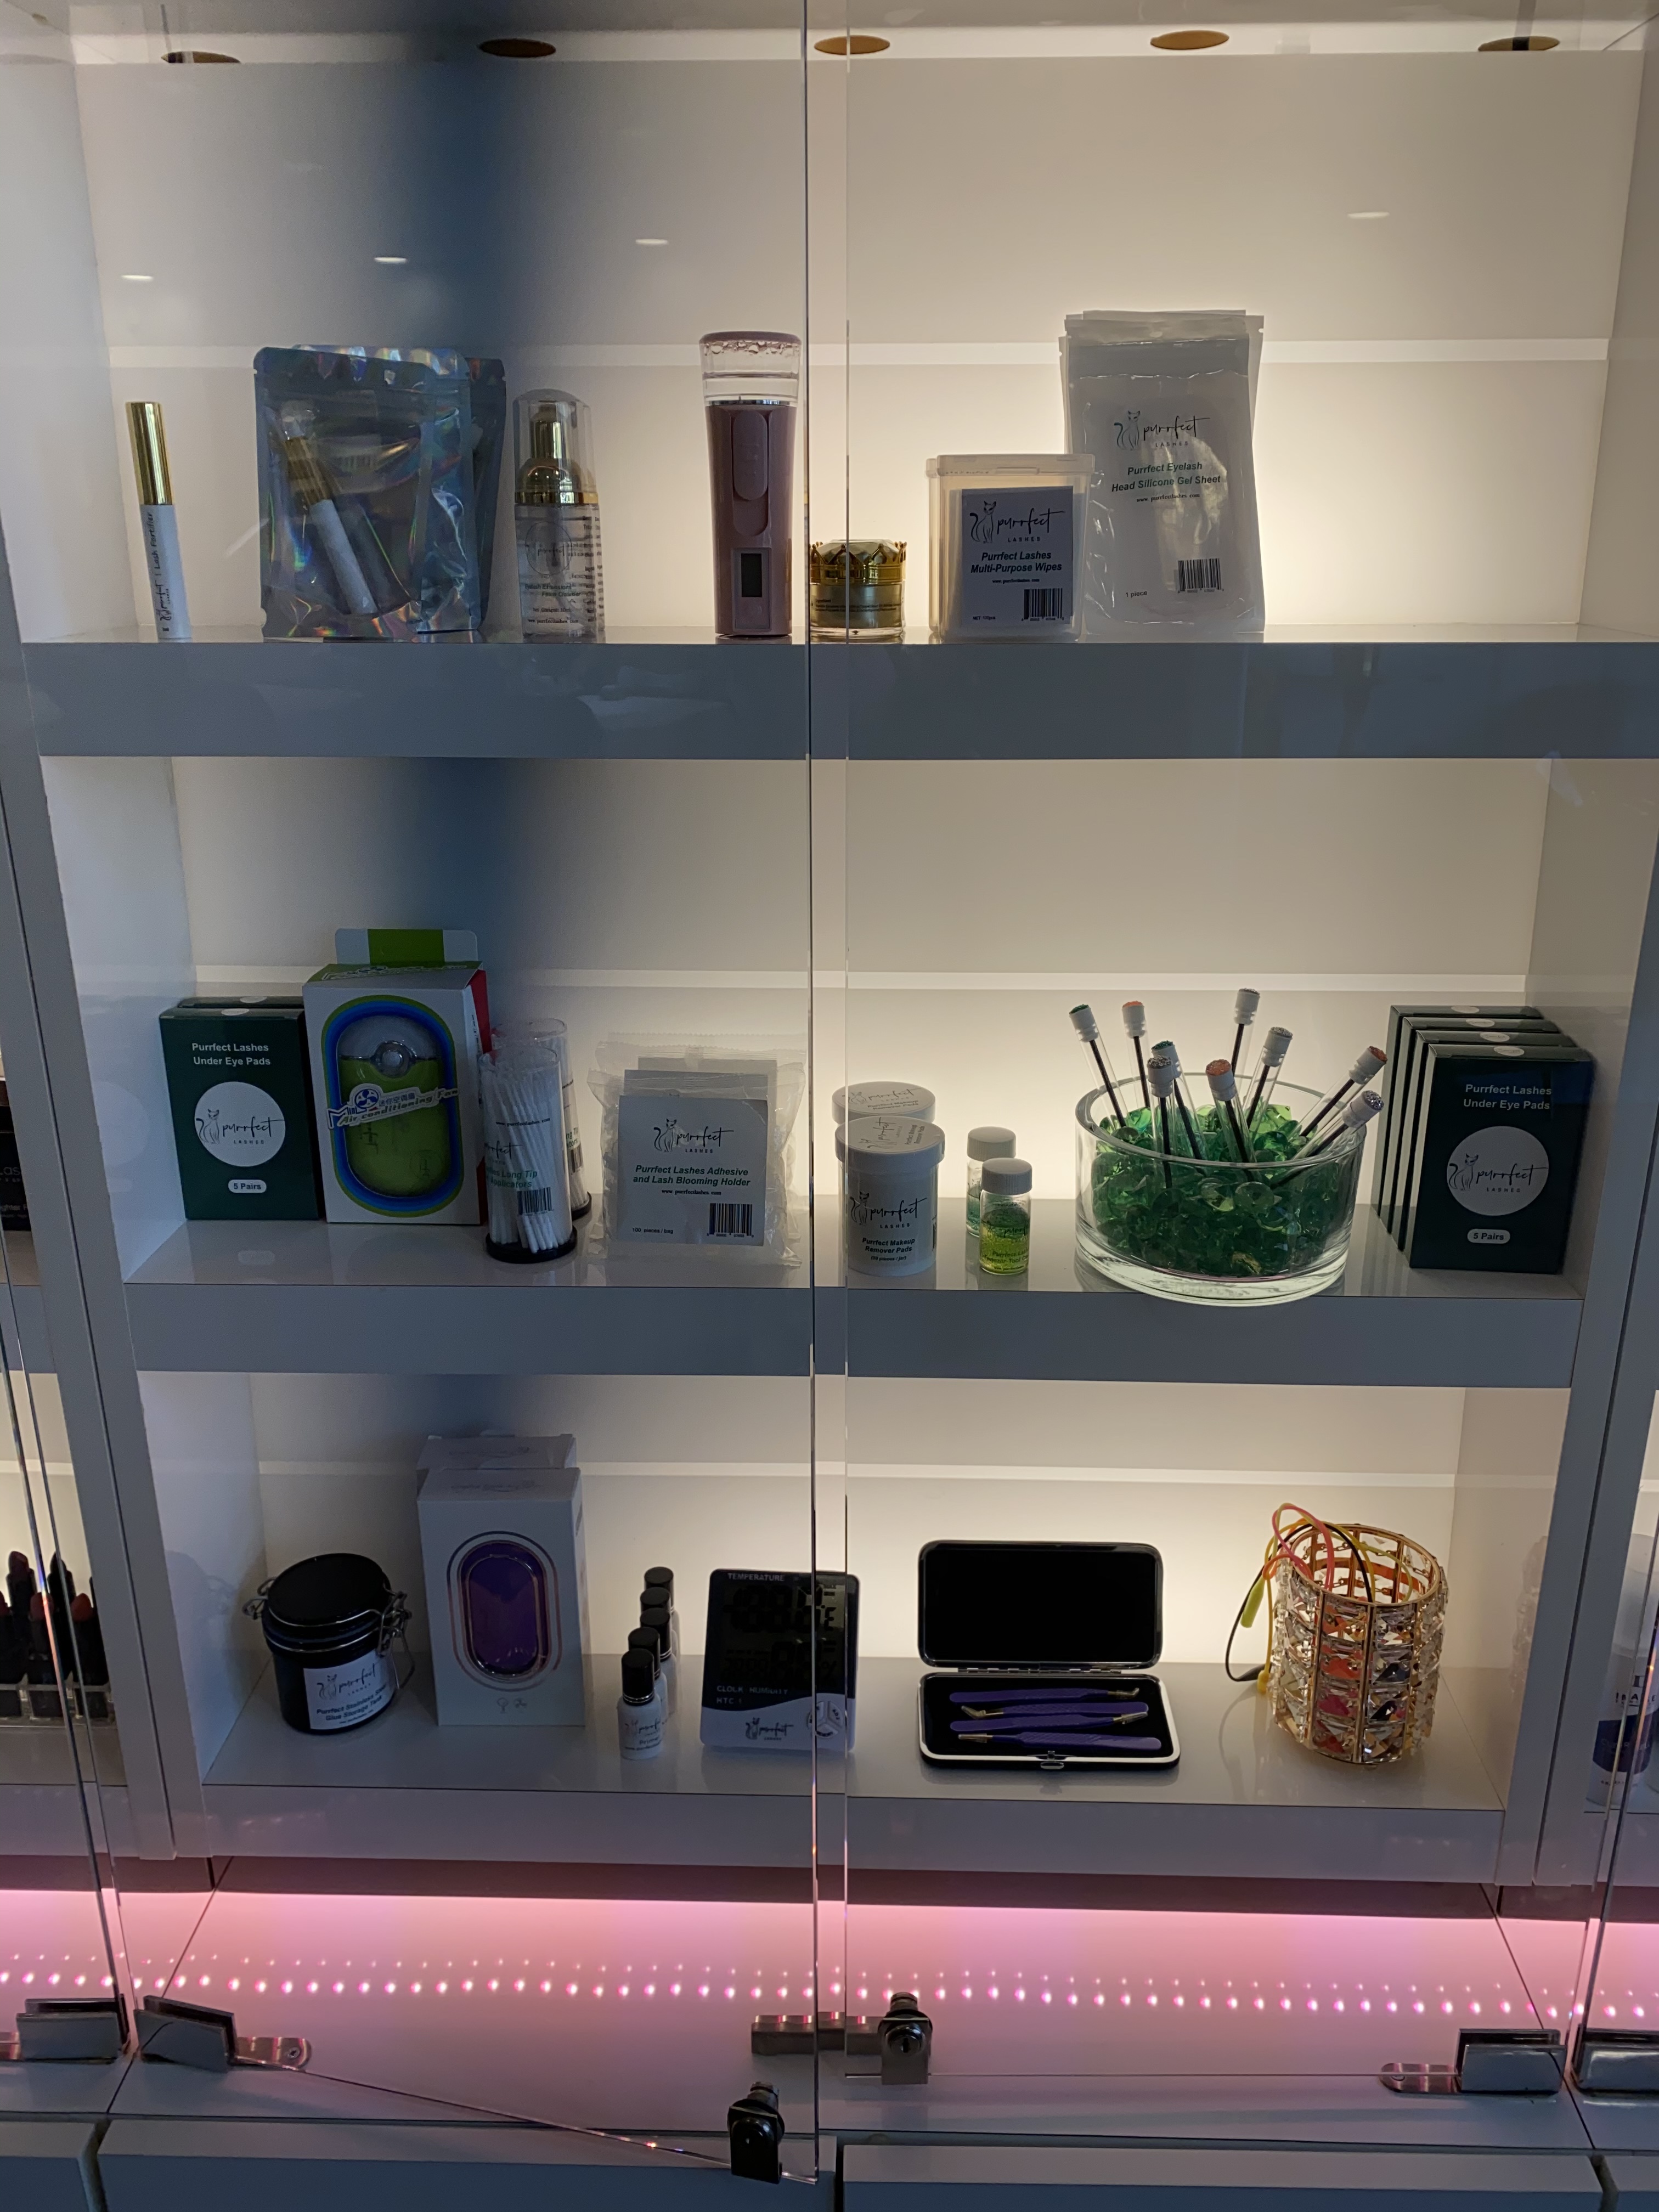
KC Lashes is a local Kansas City woman-owned lash salon in Park Place in Leawood. They offer lash extensions, lash lifts, lash tints, as well as brow services. KC Lashes owner Tasha Socin, Owner says, “At KC Lashes we are more than just lashes. We believe in making every single one of our clients feel better beautiful inside and out. That’s why we focus on having superior service, standards, excellent customer service, amazing products, and making sure each clients leaves feeling their absolute best.” After researching them and talking with Tasha, I knew this was the spot!

During my first visit, I met my lash artist, Jazzmin, and she asked me a lot of questions to ensure that I had the best experience possible. She asked about my lifestyle and the look I was wanting to ensure that I got the lash look that was right for me and would match my activity level. After she got that information, she walked me through the procedure–what she would do, what I would do, what it would feel like, everything! From there, it was time to get gorgeous!
During a lash extension application, you lay on a padded table, similar to that of a massage table. The tables at KC Lashes are covered in plush blankets, and there are blankets available for you to cover up if you like. It’s clear that they are all about your comfort! Which is great, because your initial application can last up to 2 hours. The artist will tell you that most people fall asleep, you’ll laugh, and then about 15 minutes in, you’ll fall asleep too. It’s just so cozy!
During the procedure, your eyes are closed, and the lash artist works their magic. They thoroughly clean your eye area, they apply the lashes that you selected, and they get you cleaned up.
After my lashes were applied, Jazzmin handed me a mirror, and I was in love! (Okay that sounded super vain.) It was clear that she really listened to what I wanted, and I was blown away with the look of my new lashes. Once she was confident that I was happy with my lashes, she went over my after care.
With lash extensions, you do have to be cautious and treat them with care. They cannot get wet within 24 hours of your appointment. (This includes sweat and shower.) Rubbing your eyes is a no no. (Which you will undoubtedly forget on the 3rd day when your alarm goes off at 4 AM…) You should be cautious about the skincare products and makeup you use on your eyes. (The lash artist will ask about these and make recommendations in those initial pre-application questions.) And it’s a good idea to comb through them at least once per day so they maintain their shape and separation.
After your initial application, you should return after 2 weeks for a fill. (Very similar idea to when you have acrylic nails.) The fill is to inspect how well you are maintaining your lashes and if adjustments should be made, to fill in lashes that are lost over the 2 weeks since application, and to adjust the look if you would like. After that 2 week appointment, the lash artist will recommend you return every 2-4 weeks for a fill, depending on how well you are maintaining your lash extensions.
After my initial application, I maintained about 60% of my extensions. We identified that the facial cleanser I was using was tough on my lashes, so I purchased a new cleanser that would prevent any damage. Additionally, as I mentioned, I sweat a lot and frequently, so it was anticipated that I would lose more than some customers.
Currently, I am on my 3rd fill, and I could not be happier with the look and my experience. Every time I go, I’m excited to see Jazzmin. She is so sweet, and she always remembers what we talked about the last time, and she always asks about my kiddo. I am so relaxed during the session. And the salon is absolutely gorgeous!
So here’s some great news for all of you! New customers can get $20 off your first full set of lash extensions at KC Lashes when you mention my name at booking! This is a big savings, and I know you’ll fall in love with the team and with your lashes.
Let me know if you have any questions, and let me know if you visit KC Lashes!
XOXO,
Molly B.